


In This Article Show
Welcome to “Diapering 101: Tips and Tricks for New Parents.” As a mother of three, I’ve navigated the world of parenting with all its ups and downs, and diapering is a chapter every new parent becomes well-acquainted with.
This guide is designed to simplify your diapering journey, offering practical advice distilled from personal experience and reliable sources. Whether you’re holding your first newborn or juggling the needs of multiple little ones, mastering the art of diapering is a skill that brings confidence and ease to your parenting toolkit.
In this article, we’ll explore everything from choosing the right diapers to tackling common diapering challenges. So, let’s get started on making your diapering experience as smooth and trouble-free as possible!
Step-by-Step Guide to Diapering
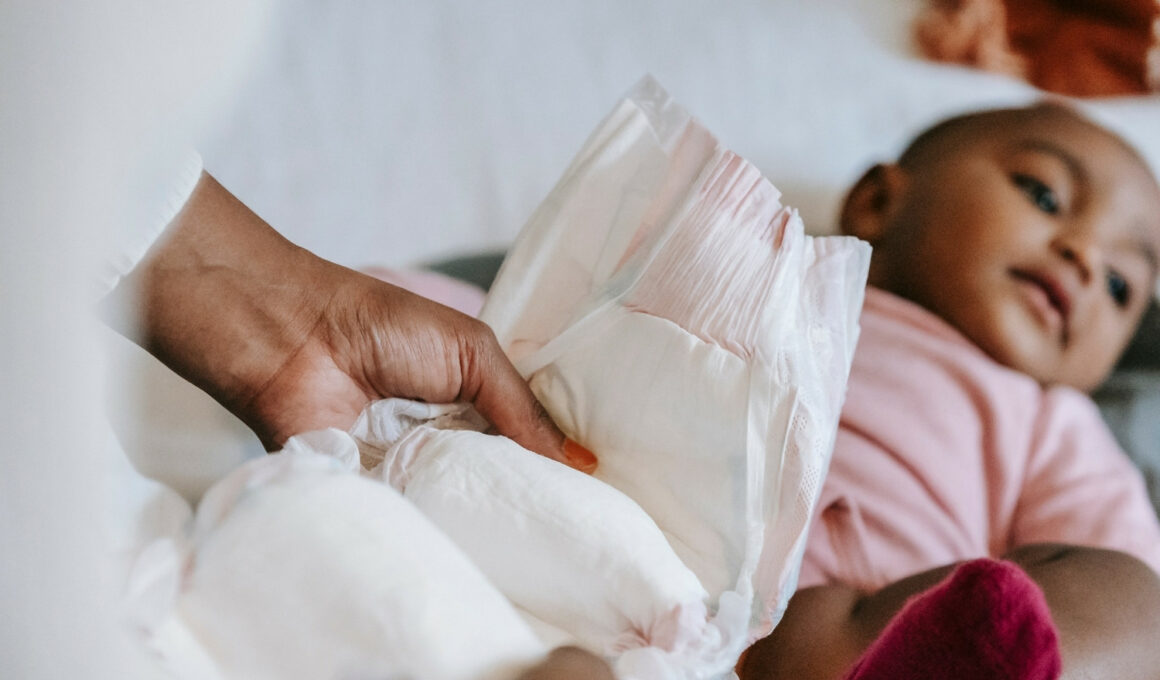
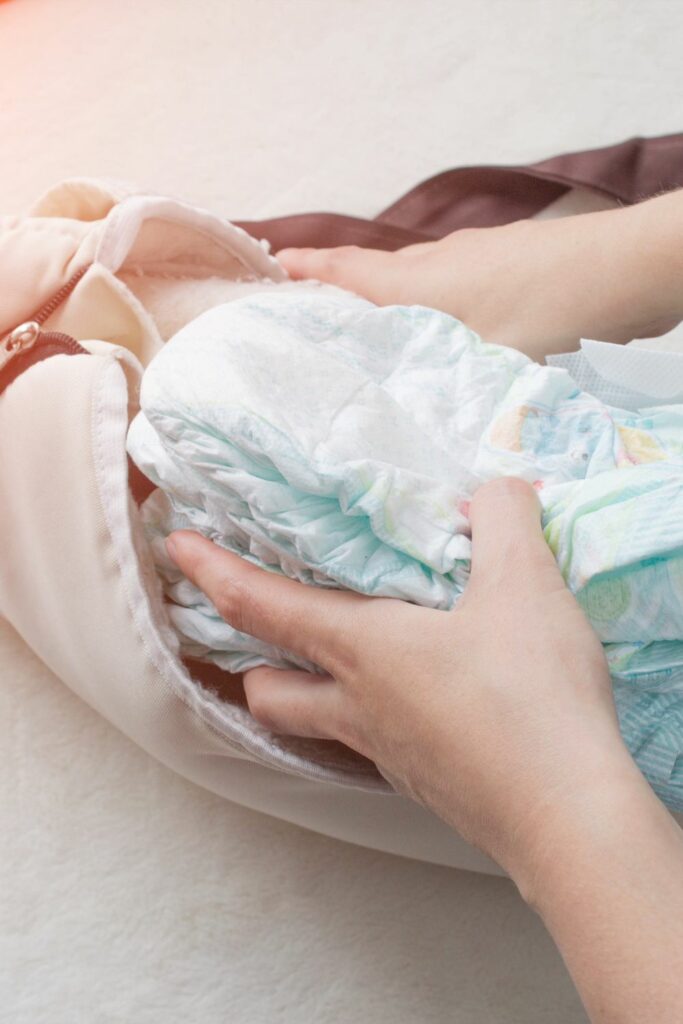
Changing a diaper may seem daunting at first, but with a bit of practice, it becomes second nature. Here’s a simple, foolproof method:
- Prepare Your Supplies: Before you start, ensure you have everything within arm’s reach: a clean diaper, baby wipes, diaper rash cream (if needed), and a secure changing area.
- Clean and Place: Gently lay your baby down. Open the dirty diaper, but don’t remove it yet. It’s a handy barrier between you and potential messes. Clean your baby’s diaper area with baby wipes. For girls, always wipe from front to back to prevent infections.
- Lift and Remove: Lift your baby’s legs by the ankles and slide out the dirty diaper. It’s important to lift gently to avoid any discomfort.
- Apply Rash Cream if Needed: If your baby has a diaper rash, now’s the time to apply a thin layer of rash cream.
- Place the Clean Diaper: Slide the clean diaper under your baby. The back of the diaper (with the adhesive strips) should be level with your baby’s waist. For boys, make sure their penis is pointing downwards to prevent leaks.
- Secure the Diaper: Pull the front of the diaper up between your baby’s legs and fasten the adhesive strips. Ensure it’s snug but not too tight. You should be able to fit two fingers between the diaper and your baby’s stomach.
- Final Check: Do a quick check around the waistband and leg openings to ensure the diaper is secure and there are no gaps where leaks can occur.
- Clean Up: Dispose of the dirty diaper and use a baby wipe to clean your hands and the changing area.
- Wash Hands: Always wash your hands and your baby’s hands after a diaper change to prevent the spread of germs.
Remember, each baby is different, and you might need to adapt these steps slightly to suit your child’s needs. Practice makes perfect, and soon you’ll be a diaper-changing pro!
Addressing Common Diapering Challenges
Diapering isn’t always straightforward, and as a mom of three, I’ve faced my share of common challenges. Here are some typical issues and how to effectively address them:
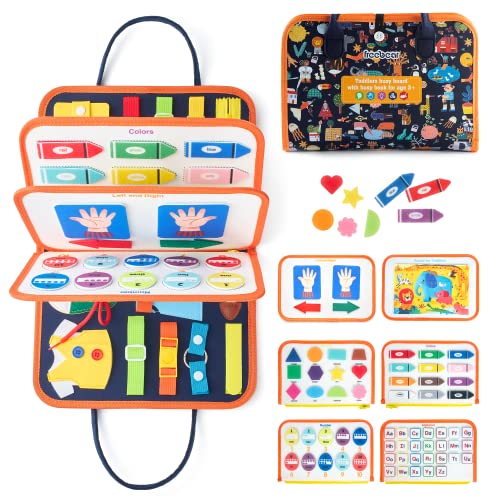
Great deals to snatch for your little ones 🎉


1. Diaper Rash
This is a frequent concern and can be caused by wet diapers, sensitive skin, or reactions to certain diaper brands.
Solutions and Prevention
- Change diapers frequently to keep your baby’s skin dry.
- Use a barrier cream or ointment to protect the skin.
- Allow your baby’s skin to air out whenever possible.
- Choose hypoallergenic and fragrance-free wipes and diapers if your baby has sensitive skin.
2. Leaky Diapers
Leaks can happen, especially at night or as your baby becomes more active.
Solutions and Prevention
- Ensure the diaper fits snugly around the waist and thighs.
- For boys, position the penis downwards when putting on the diaper.
- Consider using overnight diapers or a size-up for nighttime.
- Check and change the diaper more frequently, especially after feedings.
3. Fitting Issues
A diaper that’s too tight can cause discomfort and marks, while a too-loose diaper can lead to leaks.
Solutions and Prevention
- Check the diaper size guidelines and adjust as your baby grows.
- The diaper should be snug, but not so tight that it leaves marks on the skin.
- Ensure the adhesive tabs are not too stretched or too loose.
- For cloth diapers, adjust the snaps or Velcro for a better fit.
Remember, every baby is different, and what works for one may not work for another. It’s often a process of trial and error to find the best solutions for your child’s needs. Don’t hesitate to consult your pediatrician if you’re concerned about diaper rash or other skin issues.
Tips for Diapering on the Go
Changing diapers while you’re out and about or traveling requires a bit more planning and flexibility. As a seasoned mom, I’ve learned some tricks to make diapering on the go smoother and less stressful.
- Pack a Portable Changing Kit: Invest in a portable changing pad that can fold up into your diaper bag. Include essentials like diapers, wipes, a small tube of diaper rash cream, and a change of clothes for your baby.
- Opt for Compact, Multi-Use Items: Choose compact items that serve multiple purposes. For example, a small, soft blanket can double as a changing pad in a pinch.
- Use Diaper Clutch for Quick Changes: A diaper clutch is smaller than a full diaper bag and perfect for quick trips.
- Scout Out Changing Facilities in Advance: If you’re going to a specific location, check ahead for baby-changing facilities. Many public places have family restrooms with changing stations.
- Be Ready for Car Changes: Sometimes, you might have to change your baby in the car. Keep a small stash of supplies in the car for these situations.
- Disposable Bags for Dirty Diapers: Carry a roll of scented disposable bags to dispose of dirty diapers and contain the smell. They’re also useful for soiled clothes.
- Hand Sanitizer is a Must: Always have hand sanitizer in your diapering kit, especially when you might not have immediate access to a sink for handwashing.
- Dress Your Baby in Easy-to-Change Outfits: When traveling, dress your baby in outfits that are easy to take off and put on. This makes diaper changes quicker and less complicated.
- Keep a Checklist: Before leaving the house, do a quick checklist to ensure you have all the essentials. It’s easy to forget something in the rush.
By being well-prepared and adopting these tips, diapering on the go can be a hassle-free experience, allowing you to focus on enjoying your outing with your little one.
Saving Money on Diapers
As a parent, finding ways to save money on diapers can significantly ease the household budget. Bulk buying is a practical approach; purchasing diapers in larger quantities often reduces the cost per diaper.
Joining reward programs offered by diaper brands or stores can also lead to savings. These programs often provide points for each purchase, which can be redeemed for discounts, free products, or other perks.
Additionally, consider signing up for subscriptions through online retailers, which not only saves money but also ensures you never run out of diapers.
When it comes to the cost comparison between cloth and disposable diapers, the initial investment in cloth diapers is higher, but they can be more economical in the long run. Cloth diapers are reusable, and with proper care, they can last through multiple children.
However, you should also factor in the costs of water, electricity, and detergent for washing cloth diapers. Disposable diapers, while convenient, require continuous purchasing, which adds up over time. The choice between cloth and disposable diapers depends on your lifestyle, budget, and personal preferences.