


In This Article Show
I’m just like many of you – a busy mum who’s taken a shine to DIY home improvement over the years. Between school runs and meal preps, I’ve found solace in transforming old spaces into something fresh and beautiful. One area that often gets overlooked? Those old 12×12 ceiling tiles! They might seem insignificant, but trust me, they can change the vibe of a room.
We’re not just talking about the aesthetics. Giving those tiles a fresh coat of paint can be a game-changer for your home, both in terms of design and practicality. And while I’ve tried my hand at numerous tasks around the house, there’s something gratifying about refreshing the very ceiling that shelters our family memories.
So, if you’ve got old ceiling tiles that are crying out for some TLC, you’re in the right place. Whether you’re a DIY novice or someone with more brushes than you can count, let’s take this journey together and give your tiles the makeover they deserve. Ready? Let’s get started!
The Benefits of Painting Ceiling Tiles
1. Cost-effective Renovation Method
Renovating doesn’t always have to break the bank. Painting ceiling tiles is a budget-friendly way to freshen up a space. Instead of replacing tiles entirely, which can be expensive, a fresh coat of paint can work wonders without emptying your wallet.
2. Enhancing Aesthetic Appeal
Think of paint as a magic wand for your home. A change in color or even just refreshing the existing shade can elevate the entire look of a room. From making spaces appear larger to simply adding a modern touch, the transformative power of paint is undeniable.
3. Prolonging the Life of Ceiling Tiles
Apart from the visible uplift, painting also serves a practical purpose. It seals the tiles, providing an additional layer of protection. This can help prevent moisture damage, staining, and wear, ensuring your tiles last longer and stay in better condition.
Great deals to snatch for your little ones 🎉


In essence, a bit of paint not only spruces up your ceiling but also offers some handy benefits for the home’s longevity and your pocketbook. So, if you’re on the fence about giving those tiles a new lease on life, these advantages might just sway you!
Pre-Painting Steps to Follow
1. Cleaning the Tiles
Before anything else, it’s crucial to get those tiles squeaky clean. Dirt or grime can hinder paint application, so this step is non-negotiable. Experts recommend using a mild detergent mixed with warm water for this task. Using a soft cloth, gently wipe down each tile. Remember to rinse them with clean water and let them dry thoroughly.
2. Repairing Damaged Tiles or Sections
Check for any cracks, dents, or damaged sections. It’s vital to address these imperfections before painting. I recommend using a patching compound for minor repairs. Smooth it over the affected area, allow it to dry, then sand it down for a seamless finish.
3. Sanding Tiles Lightly
A light sanding ensures the paint adheres better. It provides a slightly rough surface, making it easier for the paint to grip. You don’t need to go overboard; just a quick pass with fine-grit sandpaper will do the trick. As experts often point out, this step can make all the difference in achieving a professional-looking finish.
4. The Importance of a Good Primer
A primer sets the stage for your paint. It ensures an even, smooth paint application and increases durability. Experts recommend looking for a primer specifically designed for ceiling tiles or the material of your tiles.
Apply it using a roller for larger sections and a brush for edges. Follow the drying time mentioned on the product before applying your paint.
In a nutshell, while the urge to jump right into painting can be tempting, taking the time for these prep steps is essential. With the right foundation, your painting job will look better and last longer!
Choosing the Right Paint for Ceiling Tiles
1. Types of Paint
Latex Paint
Experts often lean towards latex for ceiling tiles. It dries quickly, emits less odor, and cleans up easily with water. However, it might not be as durable as oil-based paints in areas with high humidity.
Oil-Based Paint
This type provides a smooth finish and is durable, especially in humid conditions. But it takes longer to dry and requires mineral spirits for cleanup.
2. The Importance of Mold-Resistant Paint
Ceiling tiles, especially in areas like bathrooms, are prone to moisture. Moisture can lead to mold, which is not just unsightly but also unhealthy.
Experts recommend always opting for mold-resistant paint for ceiling tiles. It might be a tad more expensive initially, but it will save you potential health hazards and future repair costs.
3. Recommended Finishes for Ceiling Tiles
When it comes to finishes, it’s all about the look and feel you desire.
- Matte Finish: It gives a non-reflective, smooth appearance. We recommend this for older tiles, as it can hide imperfections well.
- Semi-Gloss Finish: If you’re looking for a subtle shine, this is your go-to. It’s also easier to clean, making it a favorite choice among many homeowners.
- Gloss Finish: While it offers a high shine, experts often advise using it sparingly for ceiling tiles as it can highlight flaws.
In summary, when choosing paint for your ceiling tiles, it’s essential to consider both the aesthetics and the functionality. With the right paint choice, guided by expert advice, you’re set for a ceiling that’s not only beautiful but also long-lasting.
Best Painting Techniques for Ceiling Tiles
Using Brushes vs. Rollers: When and Why
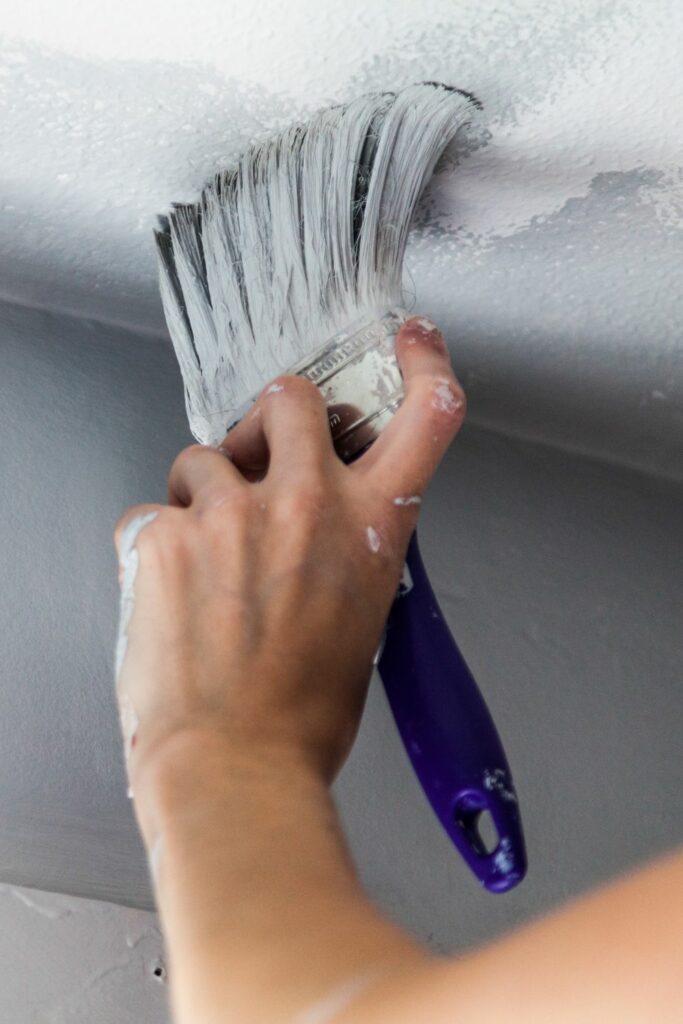
Brushes
These are ideal for detail work and edges. They allow for precision, ensuring you don’t miss any spots. Experts recommend using angled brushes for the best results, especially in tight corners.
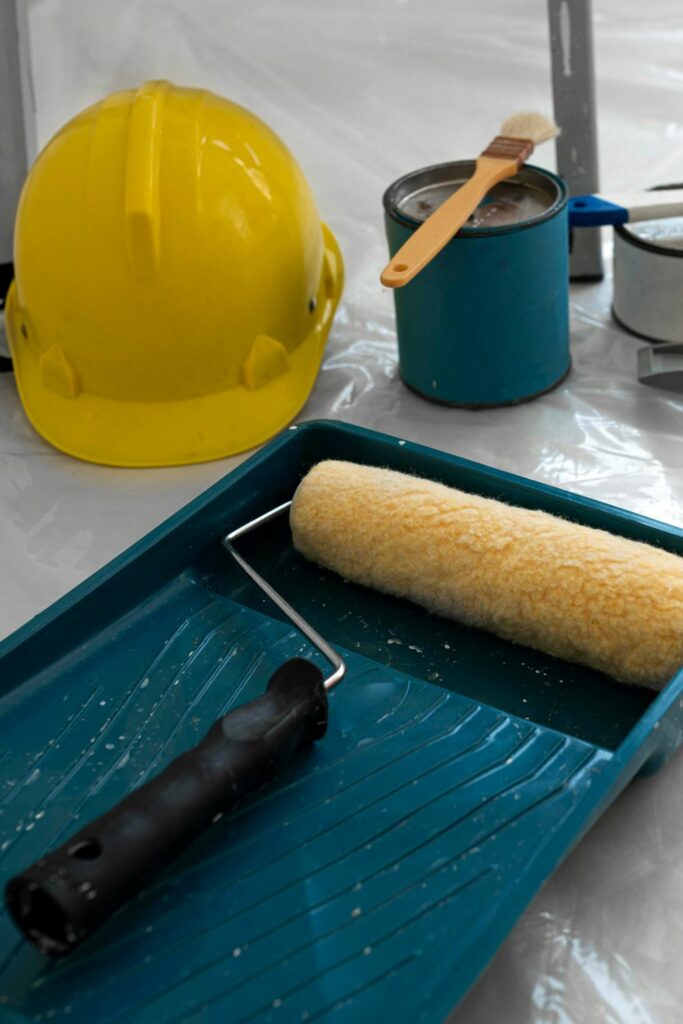
Rollers
Perfect for covering larger areas quickly. They provide a smoother finish and can cover a lot of ground in a short time. However, experts suggest using a smaller roller or brush for those hard-to-reach places.
Spraying Options: Equipment Recommendations and Techniques
Equipment
Airless sprayers are a favorite among professionals. They’re efficient and provide a smooth finish without brush or roller marks.
Technique
It’s all about maintaining a consistent distance from the ceiling and overlapping your strokes. Experts recommend practicing on a piece of cardboard first to get the hang of it. Remember, safety first! Always wear a mask and protective eyewear when spraying.
The Value of Thin, Multiple Coats Over a Thick Single Coat
Laying it on thick might seem like a good way to get done faster, but it’s a no-go. Experts advise applying thinner, multiple coats. This ensures even coverage, and quicker drying times, and reduces the risk of drips. It also provides a more polished, professional appearance.
How to Avoid Drips and Streaks
Consistent Pressure
Using a brush, roller, or sprayer, maintain consistent pressure to avoid pooling or uneven application.
Watch Your Load
Don’t overload brushes or rollers. Dab off any excess paint before application.
Direction Matters
Always paint in one direction. If you’re using a roller, roll in a ‘W’ pattern for even coverage and then fill in the gaps. Experts emphasize the importance of maintaining a “wet edge” – meaning you overlap the wet paint with your next stroke before it dries to avoid streaks.
Armed with these techniques and a bit of patience, you’re on your way to ceiling tiles that look like a pro handled them. And remember, as with any DIY task, the journey is half the fun!
Safety Tips When Painting Ceiling Tiles
1. Ensuring Proper Ventilation
Paint fumes can be harmful, not to mention, the strong odor can be quite unpleasant. When painting indoors, it’s crucial to open windows and doors to ensure a steady flow of fresh air. If the room has fans, turn them on to help circulate the air.
Experts strongly advise against painting in closed-off, unventilated spaces to protect your health.
2. Using Protective Gear
Masks
Especially if you’re using sprayers or oil-based paints, wearing a mask can protect you from inhaling harmful particles and fumes.
Gloves
Paint can irritate the skin for some folks. Wearing gloves can keep your hands clean and safe from potential irritants.
Goggles
Accidental paint splatters can be harmful to the eyes. Goggles are a must, especially if you’re spraying. Experts always highlight the importance of eye protection during any painting project.
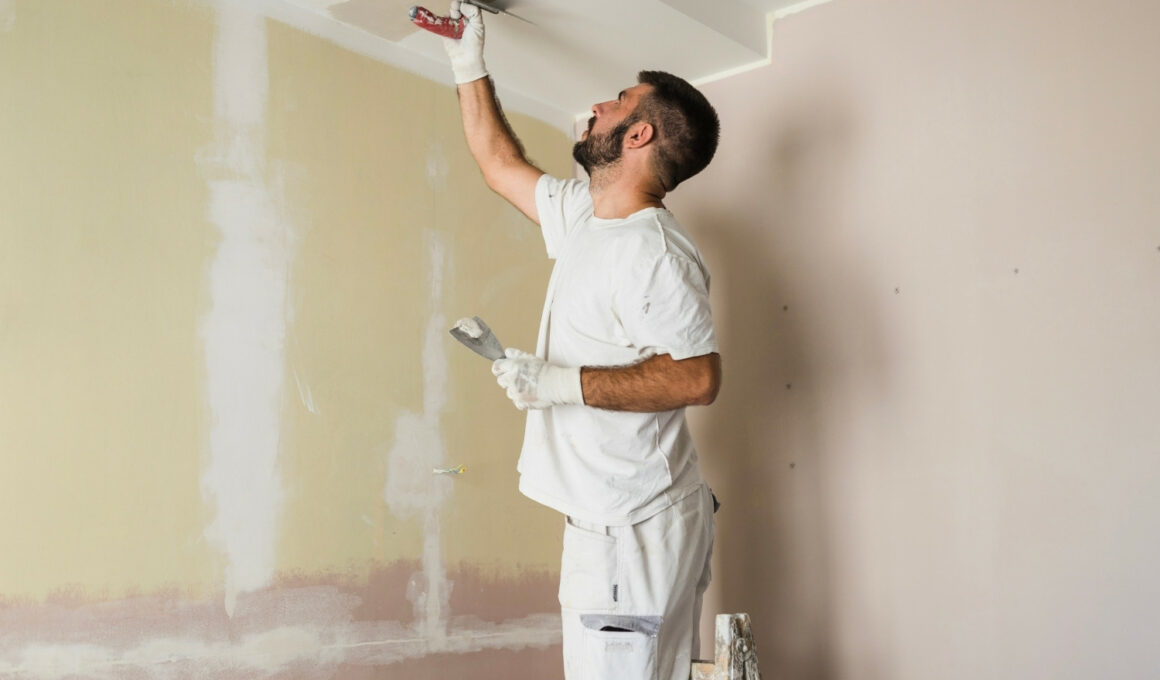
3. Safe Ladder Use and Stability Tips
Choosing the Right Ladder
Ensure the ladder is appropriate for your height requirements and is in good condition. A step ladder is usually sufficient for standard ceilings.
Stable Ground
Always place the ladder on a flat, stable surface. If you’re on a slightly uneven floor, use ladder levelers.
Climbing Safely
Climb the ladder slowly, maintaining three points of contact (two hands and a foot or two feet and one hand) at all times.
Not Overreaching
Never lean too far off the side of a ladder. If you can’t reach an area, climb down and reposition the ladder. Experts often remind us that overreaching is a leading cause of ladder-related accidents.
In conclusion, while painting can be an exciting and transformative process, your safety should always be the top priority. A well-done ceiling isn’t worth a health risk. So, gear up, be cautious, and happy painting!